


Floorpan Removal Details
Updated July 15, 2000
Removal of Seat Tracks After removing all of the tarboards and cleaning things up, the next step was to remove the seat track from the pan. I used an air chisel with a standard chisel bit and worked over any area that looked like it might have had a spot weld. In several cases, the chisel drove right through the floorpan metal, and I had to come at it from the other side to break the weld loose. It took about 15-20 sweaty minutes to remove the track.
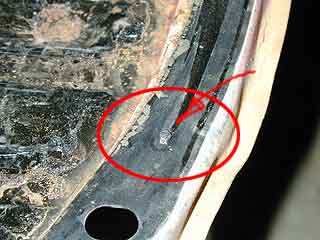
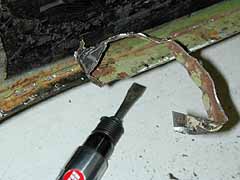
Pan Seal Tacks One other thing I did prior to cutting out the pans was to remove and save all of the tiny little tacks that held the pan seal in place. I've never seen these mentioned on anyone else's site... They were obviously used to hold the seal in place while mating the body to the pan, and were driven right into the metal of the floor pan.
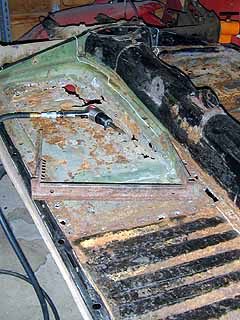
Cutting Out Old Pan In the next photo, I've just finished cutting out the old pan. I marked my cut line with chalk, and left the corners undone until everything else was cut. At this point, I used spring clamps to hold the cut pieces together while I finished the last bit of cutting, so the old pan wouldn't fall to the floor when I finished the cut. I used a reciprocating saw (Sawzall is one brand, mine is a DeWalt) to make the cut, and the cost of the saw was worth it! It went through the metal like a hot knife through butter...
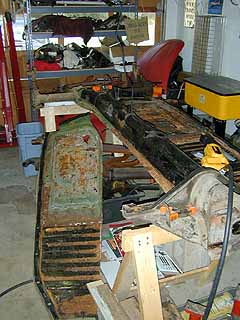
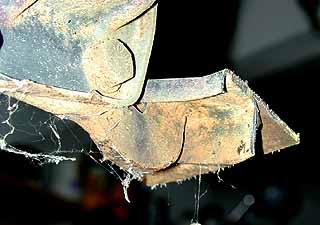
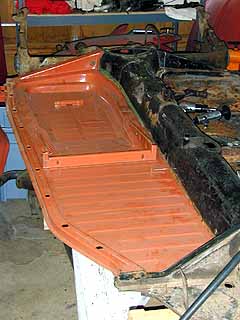
Here are some detail shots showing the front and rear portions of the pan...

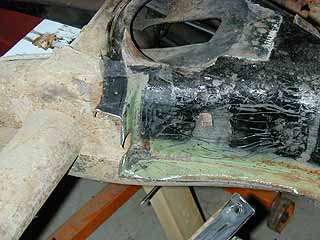
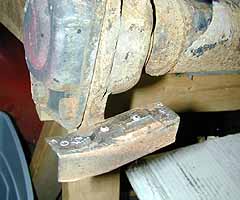
Removing Remaining Metal From Tunnel Flange The next step was to remove the remaining strip of metal where the original pan was welded to the tunnel flange. I used an air chisel to break the welds...
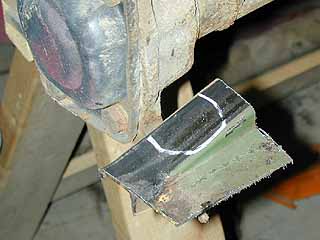
Once that was all done (about 30-40 minutes worth of noise and sweat), I removed the bit of metal from the mount at the swing arm housing. I learned from the great Bug Me Video videotape series (tape 6), that there is a metal bracket welded to the swing arm housing at this location (I had cut all but about 4" of mine off, not knowing any better). So all I had to do was get under the remaining pan metal and pop the welds. The 4" bracket that's remaining should be plenty to weld the new pan to.
With that done, I had to lay the new pan in place to see what the fit would be like. Turned out, it fits quite nicely, thank you! I bought my new pans from Wolfsburg West. UPS (Unreliable Package Service) mangled one so badly I had to send it back, and WW sent a replacement out relatively quickly. UPS managed to deliver it relatively unharmed the second time around.
Next step: grind down spot weld points; wire brush the metal so there's a clean surface to weld to; check dimensions to make sure everything will line up right; and weld the new pan in!