
In the last update, I was still trying to locate and stop the leaks in my in-floor heating plumbing.

After re-sweating a number of joints, I felt confident enough to charge the system with water, then after eliminating air bubbles, injected (non-toxic) polypropylene glycol anti-freeze into the system. This is a closed-loop system, so the antifreeze does not mix with my potable water supply.

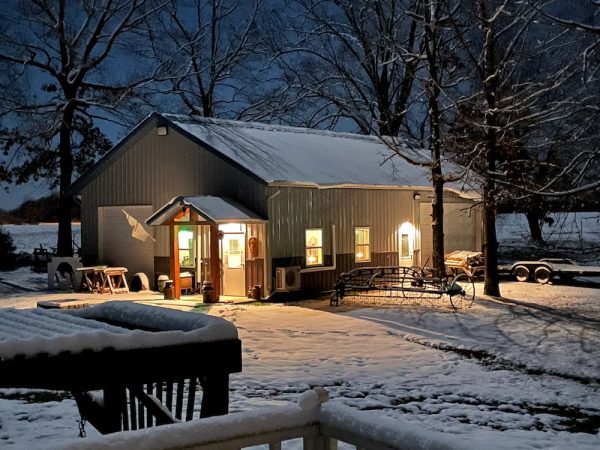
At this point, I decided to go ahead and finish wiring the whole building. The only circuit that’s not yet active is one I ran for an eventual 60-gallon air compressor (yet to be purchased).

Stairs to the storage deck were next on the agenda. I spent the better part of an afternoon calculating and recalculating the cuts before making sawdust.

First time I’ve hand-cut stair stringers, and they turned out great.

I then framed in a ‘hallway’ at the top of the stairs, as the storage deck and above-ceiling space will all be unheated and I needed an insulated boundary to keep the heat downstairs.

Moving back into the workroom, I finished installing the plywood walls. After trim and paint, I hung some of my cabinets.

Temps were getting pretty cold outside (sometimes in the teens overnight), so I took all my old tarps (used to cover my building materials when we first started work on the shop) and laid them over the ceiling joists. Not sure how much that helped hold in heat, though. I eventually had to turn the in-floor heat down to just above freezing for the main floor, as it was running continuously and doubled our monthly heat bill!

Here’s the storage deck “hallway” looking back down the stairs, taken as I was starting to hang the insulation. I had to add some temporary framing for a plank to access the far wall.

Back downstairs, I hung two salvage doors to keep heat inside the workroom (which is on its own in-floor heat zone). I’ll normally use the door with the lites, but can open both up if I need to move something large into the room. Both will be cleaned and repainted the same color at some point.

R38 insulation went into the ceiling, with a mix of R19 and R13 in the walls. It’s really holding heat well at this point. I have to finish the plywood on this wall, then install the ceiling before painting. All joints will be covered with 1.25″ x .25″ furring strips. After floor paint it’ll be ready for moving all my tables and cabinets into place!